Search This Blog

7/10/2019

A Flimsy Parade?

How many of you have your flimsy center together? I know one or two of you do! I bet you thought I would reveal a flimsy with this post...well as usual things here at the Ranch have been a bit of a challenge. The A/C stopped working right a couple of weeks ago. A repair, then a replacement happened. Cooling bliss...until (duh, duh, duh) Tuesday morning when the main motor blower went out, and of course, that means back to the Stoney Bake! Hopefully, the new motor will arrive this morning and we can get things re-normalized around here. My sewing was very limited the last couple of weeks. Although I love my little sewing corner of the world, dang it gets hot in there! I do have one flimsy all together, and 2 centers finished, but no borders on those yet. Borders? Ms. Crew what should we do for borders? Well, I'm leaving that totally up to you. I usually finish my centers and let the quilt tell me what it wants for borders, if any at all. Please tell me your quilts talk too! (Yes, mine are named too!)

The center section of the quilt top center we made on this journey should be approximately 60-1/2"x60-1/2" before borders. If you add at 2-1/2" stop border with background like I suggested last week, it should be approximately 64-1/2"x64-1/2". If you decide to add a 6" border (trying to keep the Quilty Math simple here) it will end up about 76"x76" ish. If you choose a simple 6" border you will need 6 each 6"xWOF strips, and that will mean about 3 yards of border fabric. Binding (based on 2-1/2" binding would be about 8 strips of 2-1/2"xWOF or about 2/3 yards of binding fabric. It's your quilt, but these are some guidelines. I am sure your local quilt shop would be happy to help you with the Quilty Math. If you want to have a fancier finish to your artwork, that would be great! I cannot emphasize enough that this is YOUR quilt, YOUR creative artwork, you make the ultimate border decisions.

I should have taken a picture of the completed one yesterday outdoors, but with the A/C guy tromping in and out all day, I didn't manage to get it dragged outside and...this morning the heavens opened and provided us with rain and cloudy skies so no picture this morning! That gave me a better idea!

Let's have a Flimsy Parade! No, not a Floozy Parade, although that might make for interesting reading in the local scandal sheet: Headline: Local Floozy Parade Without Permit. Or NewsCenter16: Po'dock, Indiana Floozy Parade Curtailed...film at Eleven.

I'm willing to give you the how to's on making this quilt, but I'm not willing to spend time in the local lock up for you!

So let's keep it simple. Let's post pictures of your creations on Instagram with the hashtag: #StoneysCrewMysteryQuilt2019. Let's get them posted by August 1 and I will pull them together for a post so we can all see each other's fun quilts. No need to have it quilted by then, just a picture of the flimsy is fine. Heaven knows mine won't be quilted by then, and definitely not bound by then!

Now I have been asked to create another one of these adventures...I'm going to have to think about that. The next adventure might be a table runner or topper or something smaller. I will have to get in gear and think one up tho! There maybe an idea or two bouncing around in the caverns of my mind.  I will announce when I'm ready to go on that. In the mean time...let's get those flimsy's finished a pictures up on the 'Gram.

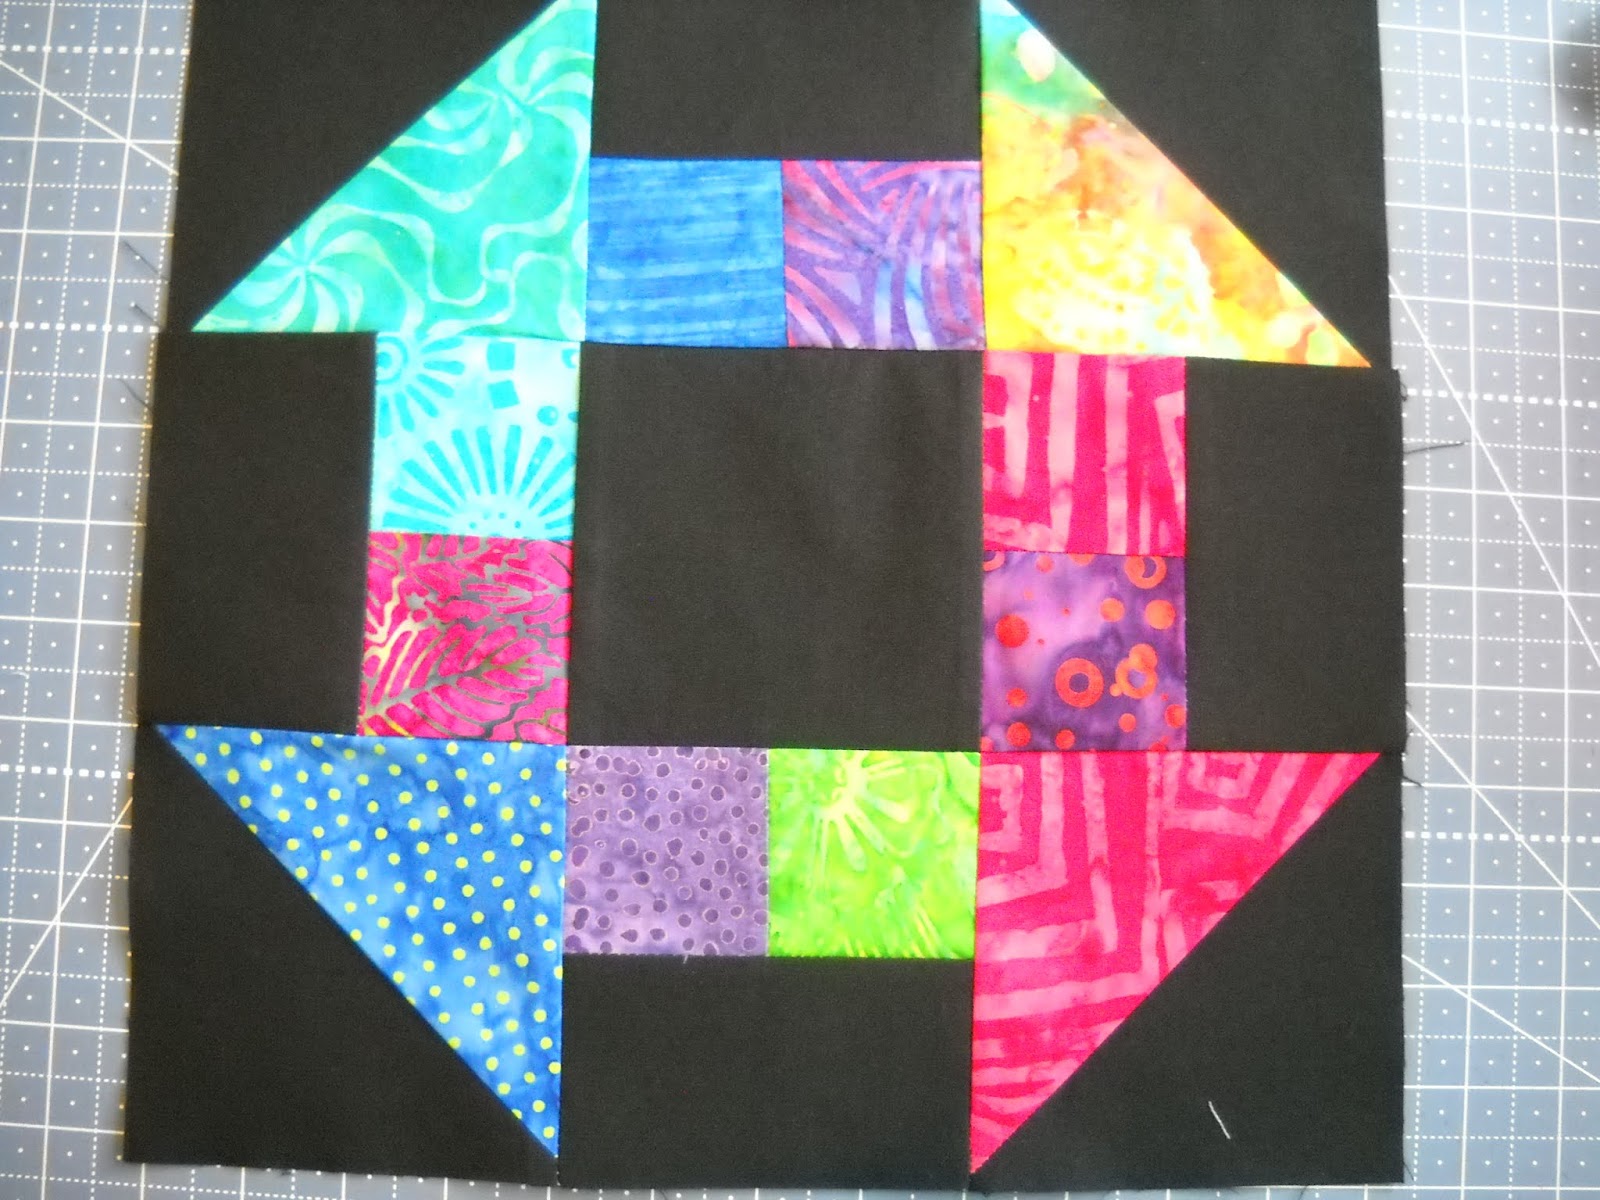
Now while we had the brief respite of working A/C...Bonnie Hunter 2019 Leader & Ender Challenge was posted. I read it, and was listening to a jelly roll project I had started laugh at me from the corner of my sewing room and thought, "Plot Change!"  I'm going to do that Stoney's Crew style! I got 15 of these cute little blocks sewn while putting together my flimsy centers. I will post about that next week, in the mean time here is a peak into what I am doing for my Leaders and Enders:


and then they became this:


I will say that the whole webbing thing has me totally baffled. Maybe by next week, it will click in my wee little mind.  See you then!


7/03/2019

All Churned Up!

This post won't be long. Things are all askew here at the ranch...so I'll be brief.

This week we are going to make the second block for this quilt. This is what you will need:

Cut 13 each 4-1/2"x4-1/2" squares from your background fabric. While you have your background out, if you are going to put a #1 Stop Border around the center of our quilt, you can cut 7 each 2-1/2" x width of fabric (WOF) for your Stop Border now. (The quantity of stop border is based on 40" fabric.)

Using your 4-1/2"x4-1/2" half square triangle blocks and your sticks and stones in conjunction with your newly cut background fabric squares to make a churn dash:


Sew the blocks together.


And yes, I love me some seam spinning!


Again the upper right and lower left blocks spin clockwise...


and the upper left and lower right spin COUNTER clockwise.and the upper left and lower right spin COUNTER clockwise.


Now if you are chomping at the bit to get this together, here is the order to sew the center of your quilt together:


Row 1 Churn Dash Star Churn Dash Star Churn Dash
Row 2 Star Churn Dash Star Churn Dash Star
Row 3 Churn Dash Star Churn Dash Star Churn Dash
Row 4 Star Churn Dash Star Churn Dash Star
Row 5 Churn Dash Star Churn Dash Star Churn Dash

So what do you have? Any surprises? I'm going to be mean and say, "See you next week!"

Have fun!


Recap:

Week 6: Star Struck (Clue 6)

6/25/2019

Star Struck...

Well, the clouds parted this weekend and I actually witnessed some stars in the night sky (although it was WAY past my bedtime!)

So let's build some blocks. This week we are going to use the 4-patch units and the V-Block units to make 12 each 12-1/2" star blocks like this:


Each star block is comprised of 5 each 4-patch units and 4 each V-Blocks and that is it. Easy right, RIGHT?

Full disclosure this is what the back of my blocks look like:


I like to build my blocks from the bottom up. Don't know exactly why, I guess because I can actually remember "Bottoms Up!" No further explanation on that bit of info!

You see the bottom row is pressed toward the V-Block...the center row is pressed toward the V-Block...and you guessed it the top row is pressed toward the V-Blocks. And yes, I did spin my seams. The top right and the bottom left both spin COUNTER clockwise, while the top left and the bottom right spin clockwise. This is what works for me to get the flattest block possible. Will it work for you? Uhmmm, I think so?!?

My apologies for the less than stellar pics this week. You may have noticed we have been rained on pretty consistently this week again. Hey, Ms. Crew, what are we going to do with the rest of these blocks? Patience my little chick-a-dees, patience. We will work with those next week.

See you then!

6/19/2019

Sticks and Stones


This week we are going to make Sticks and Stones.

Remember all those 2 patches we have left over from last week's Flat Bottom blocks (52 of them if my math is correct, but then The Crew's math has been known to be ALMOST accurate!)


Cut 52 each 2-1/2" x 4-1/2" strips (Sticks) from your background fabric. Then we will match those to those 2 patches (Stones):


If you are having a bit of trouble with matching the units, here is a little trick to help you. Fold your Stick in half to make a crease:


Match that crease to the seam in your Stones and sew your 1/4" seam. I pressed toward the background. It truly doesn't matter in the final quilt, but these blocks seamed happier that way! I guess you could say the Stones wanted to be the boss of the Stick!

Your finished units should be 4-1/2" x 4-1/2":


I love it when a plan comes together! 


Make 52 of these happy little Sticks and Stones:


That's it for this week! Super easy, right? It gives a chance for some of you to catch up! Next week we just might start assembling some blocks! 😊

Have fun! See you next week!

Where we have been on this trip:
Intro Week: Materials Requirements
Week 1: Let's Play with Our Fabric (Clue 1)
Week 2: Happy Half Square Triangle Week (Clue 2)
Week 3: V, V, Victory V-Block Week (Clue 3)
Week 4: Flat Bottom Blocks Are So Pretty! (Clue 4)

6/12/2019

Flat Bottom Blocks Are So Pretty...


Are we having fun yet? Last week was a little intense for the thinking cap, so this week we are going to try to make it a bit easier on the thinker.

Remember those 2-patch units we made all the way back in the beginning?

Yeah, those!

Let's get them out and play with them a bit. Yes, you know what that means here at Stoney's Crew, we grab that big bowl again!


Dump those neatly stacked 2 patches in the bowl and give them a stir.

Once they are mixed up, take 2 patches (make sure they are different!) and nest the seams like this:


Now with the bulky side of the two blocks aimed at your sewing machine needle, let's sew those 2 two-patches together using a quarter inch seam.

See how that seam is pointed toward my sewing machine needle?

Now sew and open the now 4-patch unit:


Pretty blah, right? Now with your good old pointer finger, press that top half seam toward the right...


Moving clockwise, continue gently pressing with your finger...next seam down (see it already is):


Keep moving in a clockwise direction. Next seam LEFT:


Next seam UP:


Look! Look! A little bitty 4-patch appeared!

Now using the highly technical quilting term coined by Eleanor Burns, Smoosh that little bitty 4-patch:


Well, would you look at that!


It's a thing of beauty really isn't it? Now give your block a press (and measure to make sure your block is 4-1/2" x 4-1/2") and you have a nice and FLAT BOTTOM 4-patch Block.


Now that secret little 4-patch hidden on the back may not seam too exciting, but trust me when it comes to quilting your long-armer, or quilter, or you will appreciate how flat your quilt lays. That and it is a lot like wearing wild underwear. No one knows it's there...unless you show them. But it's fun and it makes you smile that you have a secret. (by the way, if you run around showing people your underwear, that is a whole 'nother discussion. As my mom would say, "Ladies (or gentlemen) don't do that!")

You only need to make 59 more of these precious little blocks. That's right, this week's assignment is a total of 60 each 4 patch units.


Hey you, Ms. Crew, there are some 2 patches left.


Why, you are correct, there are, aren't there...Next week, my friend, next week!  See you then!

Recap of where we've been:

Intro Week: Materials Requirements
Week 1: Let's Play with Our Fabric (Clue 1)
Week 2: Happy Half Square Triangle Week (Clue 2)
Week 3: V, V, Victory V-Block Week (Clue 3)


6/05/2019

V, V, Victory, Var, Var Varsity...V-Block Time!

Ok, fine. I'll put the pompoms away.

It's V-Block week here at Stoney's Crew! Let's look at this beast:

Not that one!

This one:

Holy cow there are a lot of numbers and lines on this thing. Here is a link to Deb Tucker's YouTube tutorial on how to use this ruler. Click here: Deb Tucker V Block Tutorial.

I'm sure my left-handed buds here appreciate info on how to use the ruler for left hand cuts. My pictures are right hand, so remember that as you read along. First we have to know what size we are going to make...for this project we need 4" FINISHED units, so we will need to cut strips 5" strips  of both BACKGROUND and PRETTY, HAPPY fabrics. Go ahead and cut them, I'll wait. You won't need as many BACKGROUND strips, since we will be cutting smaller side triangles from them. The Pretty, Happy Fabrics will be the center triangle of this block.

Let's start with the side triangles. Using the BACKGROUND fabric, I put RIGHT (Pretty) sides of fabric together before cutting.


Then I placed the ruler on top of the strip of BACKGROUND with the BOLD line marked "cut line for side triangles" on the Straight Edge of the strips:


Cut on that angle. Now I separate the mirror image pairs as I cut. I find it easier to do it as I cut then to try to decide which is which after they are all cut:


Turn your ruler 180 degrees and do you see that line that goes all the way to the 6-1/2" bottom? Place that line on your fabric cut edge like this:

Now cut on that straight edge. Separate the pairs as you go. Keep rotating your ruler until you have made 48 pairs. Yes, we are going to make 48 units.

Now on my example, I am using 5"x5" squares, you can definitely cut the strips as Deb Tucker shows in the videos, but 5" squares is what I had, so it is what I am using here.


I folded the square in half, placed the ruler on the fabric with the dashed "fold line for Center Triangle" line on the fold. Like this:

and cut to make 48 Happy fabric triangles. Did you catch that this is how you make the initial cut on your strips? You're welcome.


DO NOT THROW AWAY THOSE CLIPPINGS! We won't need them for this quilt, but I have found this pair of Quilty Truths to be self-evident.

  • Fabric is expensive.
  • Fabric you throw away cost just as much as the fabric you use. 

And, let's face it, Stoney, The Princess, and The Kid all think I am cheap. I found that Thrifty is more palatable of a description!

To keep the pieces parts in the right places in my mind, I lay them out like this:

Now we can begin the task of stitching together our units.

I do all of the right sides (legs) first and then the left. I assembly line it when possible.

Fold that Right leg over on top of the triangle like this:

Then stitch down that angle. Like this:

Yes, I am sorry it is hard to see the stitches, but they are there. 

I do all of the RIGHT legs and press open. Pile back up and start on the LEFT legs by laying over the triangle:


and stitching:
Press open.

Now it is trim time! 

Place your block so that it looks like a V toward you on your cutting mat. Then lay your ruler on top of the block like this:


Can you see that the "Cut sizes" on the left? The point at the bottom of our pretty fabric triangle is nestled into the "4" cross. The lines from the Point up to the top follow your seam lines. When this happens, trim the Right and Top sides of your block.
Now lift your ruler and turn your block 180 degrees.

Place your ruler on your block with the 4-1/2" Right Angle lines on the newly trimmed sides. Like this:

 and trim those last 2 sides. 

You now have a perfect 4-1/2"x 4-1/2" Happy V-Block (finishes at 4") for our quilt. Rinse and repeat 48 times. Remember to mix up your fabrics. Because it is FUN!

Now I know I told you to save those trims, but since they are not needed for this quilt, I will show you what I did with them after we are done with this project.

Wow this week was intense. We are the Champions of the World! Shake those pompoms for yourself and cheer! You earned it!

Next week it will be easier, I promise. Oh, you want a clue. OK. Flat Bottom Blocks! (Mythical bonus points to those of you that picked up the obscure 70's Queen Rock references!)

Links to previous clues:


See you next week!


5/28/2019

It's Happy Half-Square Triangle Week!


This week we are going to make 52 each 4-1/2" x 4-1/2" half square tringle blocks (HST). There are several ways to make this block.

Remember my oopsie daisy with cutting? Well enter the Easy Angle Ruler. The rectangle size left on 4 of my 10" layer cake squares was 4-1/2" x 10". With the Easy Angle Ruler I was able to save the day and still get my 4-1/2" squares out of my piece of 4-1/2" wide fabric strip.

I laid a 4-1/2"x10" strip of my feature color strip down and layered a 4-1/2"x10" strip of background right sides together. Like this:

Ok so stack them don't spray them, but you know what I mean right?

Enter the Easy Angle Ruler and lay on your stacked fabrics like this:

Notice the little black triangle is off of the fabric at the top, that is what you want (it will hang off a quarter of an inch). Cut on the angle line. Flip our ruler over like this:

Notice the black triangle of the ruler is now hanging off of the bottom. Now cut on the straight edge of the ruler. repeat until your strip is finished. By cutting carefully (ignore that stray clipping there), I was able to get 4 background and feature fabric triangles out of my 10" length of fabric. With that little black triangle hanging off of the edge of the fabric you can easily feed the set thru the machine like this:

See how nicely it butts up against the set ahead of it? No jams of pointed corners as you chain piece the units. Now separate your chained pieces and press open. and when you square up you should have this if you used a 1/4" seam allowance:

Well look at that 4-1/2" square pretty close to "on the money" wouldn't you agree?

If you need a bit more instruction than I have given, Bonnie Hunter has a YouTube video you can watch that may help you use the ruler. (Click here Bonnie Hunter Easy Angle Video). Please note in her tutorial she is using 2", for our quilt we need 4-1/2". But let me tell you it makes fast work of 2-1/2" jelly roll half square triangles WITHOUT WASTE!

Now if you prefer you can take a 5"x5" square, draw a line from corner to corner. Stitch 1/4" from that center line. Cut on the line, press and trim down to 4-1/2" squares. I thought I had taken pictures of that, but clearly I didn't. 

Option 2 that I do have pictures of is using 5"x10" rectangles.

Mark the center line of your lighter fabric (in this case it was my background fabric). I like to fold it in half like this:
Then draw a line on that fold mark (this should be the 5" mark of the rectangle. Using a ruler of some sort (I used a Deb Tucker Magic Wand, but any ruler can do it. Fons & Porter has a half inch wide ruler to do this with too, but my Magic Wand is pink, and well, I find that FUN!) mark 1/4" sewing lines from the center to the lower opposite corner:
and


Place 5"x10" feature fabric and 5"x10" background fabric right sides together and stitch just inside each side of the two lines about a needles width (you need to allow for your marking pen width.): 

Cut the rectangle in half so that you have 2 each 5"x5" squares. 

Then cut BETWEEN the 2 stitch lines.

Open, press, and then square up to 4-1/2" x 4-1/2" squares.
On this project, it doesn't really matter which way you press the seams, so press to the dark side as you normally might. 

Now wasn't using that Easy Angle Ruler easier? I didn't pick up a marking pen once to make perfect 4-1/2" x 4-1/2" squares. Like anything else in quilting, you do what is easiest for you...bottom line? You will need 52 each 4-1/2"x 4-1/2" half square triangles using your feature fabrics and your background fabric(s) for this quilt. Use an assortment of your feature fabrics, the end product quilt will be more fun! 

Oh so you noticed that this week's photo samples aren't the same colors as last week...yes, well I am trying to up the MYSTERY game by switching out my fabrics for the photos...tee hee! There may be one or two of you trying to figure out where I am going with this project, and being sneaky makes it fun. Hint for next week: You will need to have your Deb Tucker V-Block ruler!

See you next Wednesday!